
This easy to do bubble painting technique creates a cool bubble effect on your finished ceramic pottery. Use it to create a background on your piece and then add other foreground elements by painting messages or images on top. You can even add a small add-on piece to give your creation a third dimension. Painting your ceramics with bubbles is also an easy project to work on at home. The kids will have a blast blowing bubbles and your project will look like a million bucks when it comes out of the kiln.
Painting with Bubbles How-To Video
Tools Needed for the Project
In addition to a piece of ceramics bisque and paints to work with you’ll need a few items you’ll most likely already have around the house.
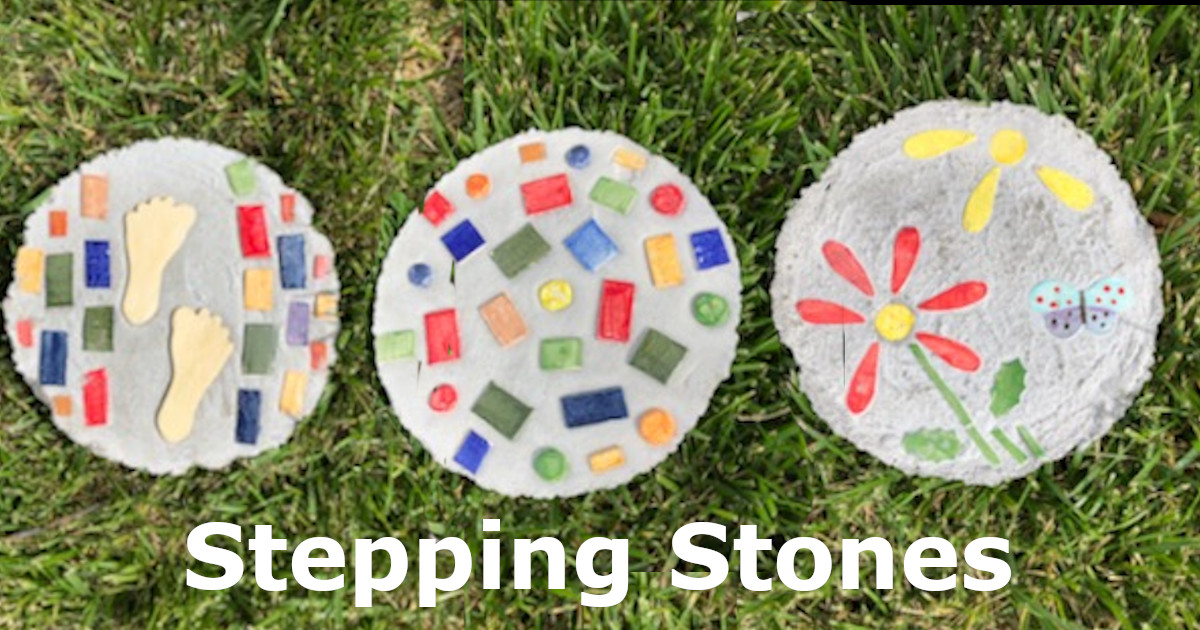
- Ceramic Bisque – While you can conceivably put bubbles on anything, pieces with lots of surface area, like plates or bowls, work well. Check out the selection of ceramic bisque on our online studio.
- Cup or Small Bowl – You’ll need something to mix the paint, water and soap in to make your bubbles.
- A Straw – For blowing bubbles. Any kind of straw will do.
- Water – Essential for many things, in this project we’ll need it to thin the paint and soap and to complete the bubble broth.
- Brushes – Although you don’t need a brush to produce the bubbles, you’ll need one to paint more stuff on you piece after the bubbles are on.
- Clean Up Materials – What you’ll need to keep clean and clean up ultimately depends on you but you should plan on having some paper or cloth towels on hand. You may also want to put down some kind of table covering to catch.
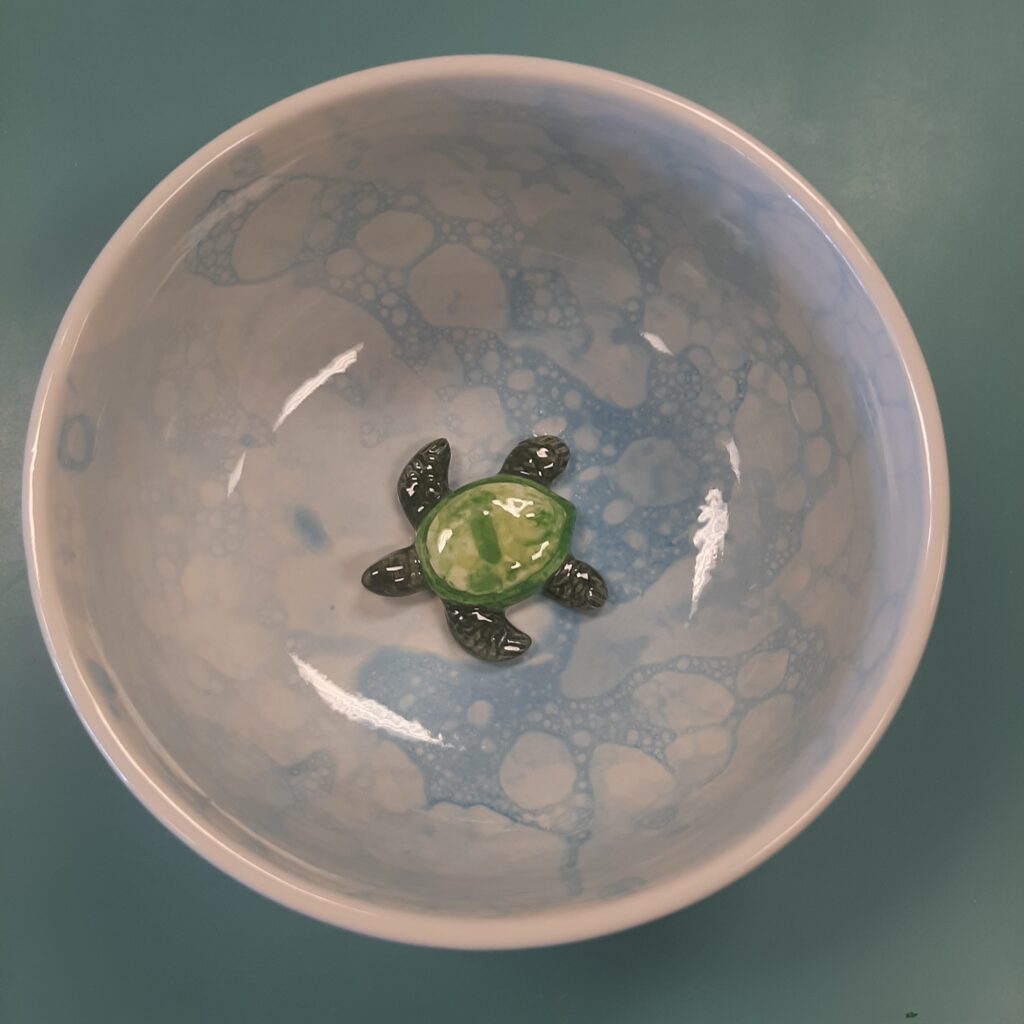
Bowl with Turtle Inside 
Bowl with Bubble Technique inside and sponged outside. 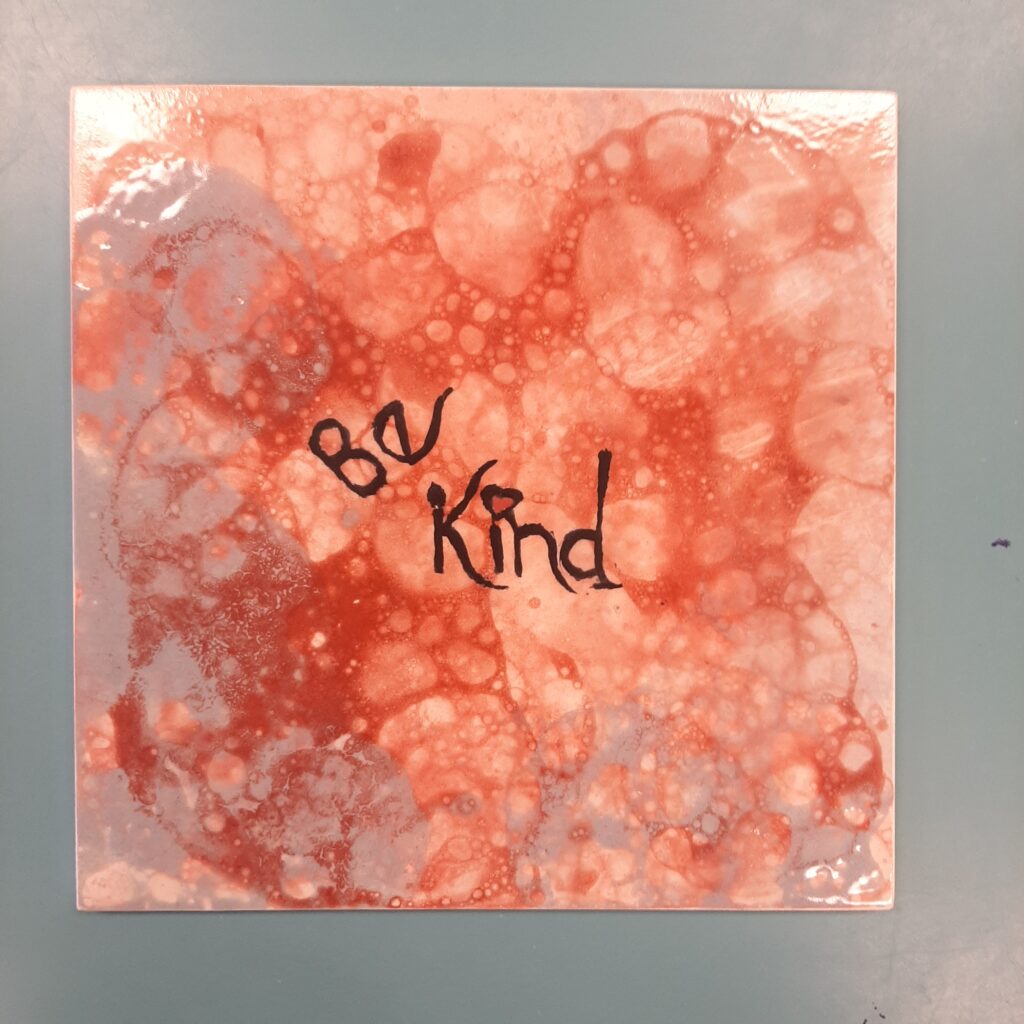
Tile with Bubble Background and Painted Words